
Want the whole job, start to finish?
You turn the faucet off, and a minute later you hear it: drip… drip… drip. A dripping faucet wastes water all day and night, and it rarely fixes itself. The good news is that the cause is almost always a small worn part inside the faucet, and you can usually replace it yourself.
Why It Keeps Dripping
Every faucet has a part inside that stops the water when you turn the handle off. Over time that part wears out, and water slips past it. Which part depends on your faucet:
- Two handles that turn and squeeze tight: usually a worn rubber washer or seat at the bottom of the valve.
- Single handle or smooth-turning handles: usually a worn cartridge, or worn O-rings and seals.
- Single handle with a ball under the cap: usually worn springs and rubber seats under the ball.
Quick Check: Hot Side or Cold?
On a two-handle faucet, feel the drip. Warm water means the hot side is worn; cold means the cold side. You only need to fix that one side. You can also shut off one valve under the sink at a time: if the drip stops, that’s your side.
Before You Take Anything Apart
- Turn off both water valves under the sink. If there are no valves, shut off the main water supply to the house.
- Open the faucet to let out the water left in the line.
- Close the sink drain or cover it with a rag so small screws and parts can’t fall in.
- Lay the parts out in order as you remove them, or take a photo after each step. It makes putting it back together much easier.
Match the Part Exactly
Take the worn washer, cartridge, or seals with you to the hardware store. Parts look alike but vary by brand and model, and the wrong one won’t seal. If you know your faucet’s brand, bring that too.
Don’t Crank the Handle Harder
Forcing the handle tighter to stop a drip only wears the part out faster and can damage the faucet. If it drips when it’s off, the fix is inside.
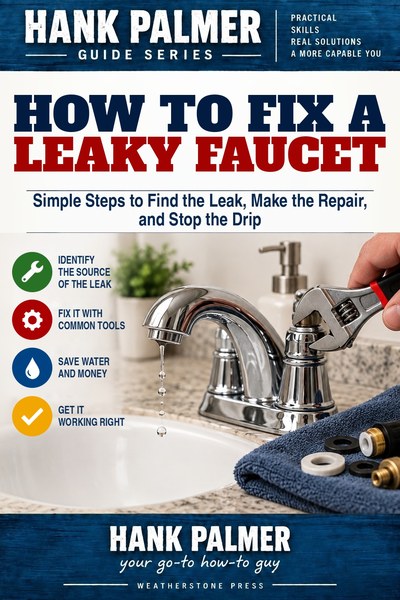
My guide walks you through fixing a leaky faucet, step by step.
Get the full guide: How to Fix a Leaky Faucet by Hank Palmer, on Amazon



Leave a comment